Showing posts with label #Kona Cotton. Show all posts

Tuesday, June 21, 2016

Teeny tiny quilt making - it takes just as long!

This was made with 3/4 inch blocks


Ladies and gentlemen, we must take a break at this point while we stop to add another unscheduled project of gigantic importance.  It's a mini quilt with a deadline...


As a heavy voyeur of Instagram (IG), I am constantly flooding my brain with ideas.  Like a rabid squirrel in a mirror tile factory ....I'm thinking...oh- got to make that, oooh - I love that..really need to make one of those, arghh - look at how cute that is...and on it goes.  Just like one of the popular kids, I'm hanging out with my head at the 90 degree tilt studying the world of quilting (and britishshorthair cats, knitters, tattoo artists, some painters, some surfers....I've got a pretty eclectic group of interests).

I was making my morning rounds on the old IG when - bam- there it was.  Make Modern Magazine had a teeny tiny quilt challenge.  What - a challenge of which I was not aware of (well...actually, kind of aware of the challenge just not the deadline)?  Ok yes - I did know about it but what hit my eye was the deadline.... the 20th!!!  And it was morning....  I had 16 hours left to make that quilt!!!  PPffhh  (close your eyes and tilt your head in a dismissive manor while saying that...) - 16 hours - heck I could make a normal size quilt and this is only a tiny one.  Challenge on!

I wanted to go really tiny...


My inspiration really came over the weekend when I was at my Virginia Beach Modern Quilt Guild meeting.  @Megmormel showed off her pineapple collection.  Made with 2.5,  2,  1.5,  1, and 3/4 inch blocks.  Look at that quilt in the center with the key - it's a real quilt!!  Batting and binding and all!  I was mesmerized...   So when I saw all those quilts on IG with the #mmminimini tag....I was really excited to try my hand at this....

I chose a strawberry design that I'd sketched up a few weeks ago (after seeing pineapples everywhere and it was Pungo Strawberry Festival time - I felt it was my civic duty to give a nod to our local produce celebrant).  Jana (Megmormel) said her tiniest was in 3/4 inch blocks so ....I had to use that size.

make tiny blocks - use tiny iron...

Once I got the blocks going I realized I'd need some HST.  Ahem - what???  Yikes... But - disaster averted when I made them via the Magic HST method and cut them down to size.  This method is SUPER easy and I love it.  And the only way to keep your sanity when making a 3/4 inch HST.

squaring up was a necessity...no fudging when it comes to this size


I got down to business....  Starting putting them together.


I soon discovered I needed that third finger - or as some call it, the stiletto.  With blocks so small, I also had to change my throat plate to avoid the dreaded sucking in of the fabric.


You may recall a few posts back where I waxed poetic about my seam ripper/stiletto.  It is a thing of beauty AND might.  In fact, I loved it so much...  I took a woodworking class on how to make them.  
I made this!!!!


I'll be selling them on Etsy - they are truly like jewelry for your sewing needs...  More about those later.  Once I got all the HST blocks sewn together, I played out my design and put that together.  GEEZZ - what tiny little pieces to deal with...


I'm a big believer in ironing the snot out of unruly blocks - and these were no exception.  Like tiny little school yard bullies- they taunted me.


Wait a minute - is this a strawberry or a turnip?


I goofed - and had to do some unseeing, resewing, then found another goof (ok, truth be told, I resewed it wrong....put it back like it was..ugh) and then got it all fixed.  I am not much of a thread snipper till the end but this became a hairy little beast really fast - so I had to break from tradition and snip a bit.
Hairy dog or quilt block?


I was so close....  This probably took me two hours from start to finish.  Longer than I thought it would take (why would I think that??) but not crazy long.  It was coming together so nicely.
I removed that bottom row - too turnipy for me

I added 2 inch borders (for my sanity)

Look at that tiny bee!!  I was so happy it was fairly visible and recognizable


On to the quilting.  I stitched in the ditch in green and red and cross hatched in green.


I don't hate hand binding, but I'm not the fan of it I used to be.  I knew this would need hand binding so ...I did.  I cut it down and put on 1.5 inch binding.  My corners were a little disappointing but the bulk really affected them (despite my trying to trim them down).  They turned out...ok. But the overall completed project - WAY TOO CUTE!!!   A lilliputian masterpiece!!


I like to take "glamour shots" of my quilts.  This just made me laugh.


I'm linking up with some GREAT linky parties found on my side bar.  Go check them out.  I am always inspired and in awe of the ideas and reasons people make beautiful things.  What are you making this week?


You can find our guild photos here:  VBMQG

Look at all of the mini's here:   #MMminimini    

Check out @Megmormel's photos here:  Megmormel

Magic HST method here: Magic HST method

Thursday, June 16, 2016

Back to some improv quilting....

I probably need to make things people recognize more easily...

I'm hot on a new project and from my perspective - it's coming out beautifully.  When I showed my daughter...she looked a little puzzled.  I got one of those... "um, yeah, I really like the colors" comments with this really puzzled look on her face.
Alas, art is in the eye of the beholder, I guess.  So, let me explain what you are about to see:


I am a fan of @DailyOverview on IG (Instagram).  They post photos with a bird's eye view of subjects.  Two posts got my serious attention:

Oil tanker ships on the ocean

and

Container ships on the ocean

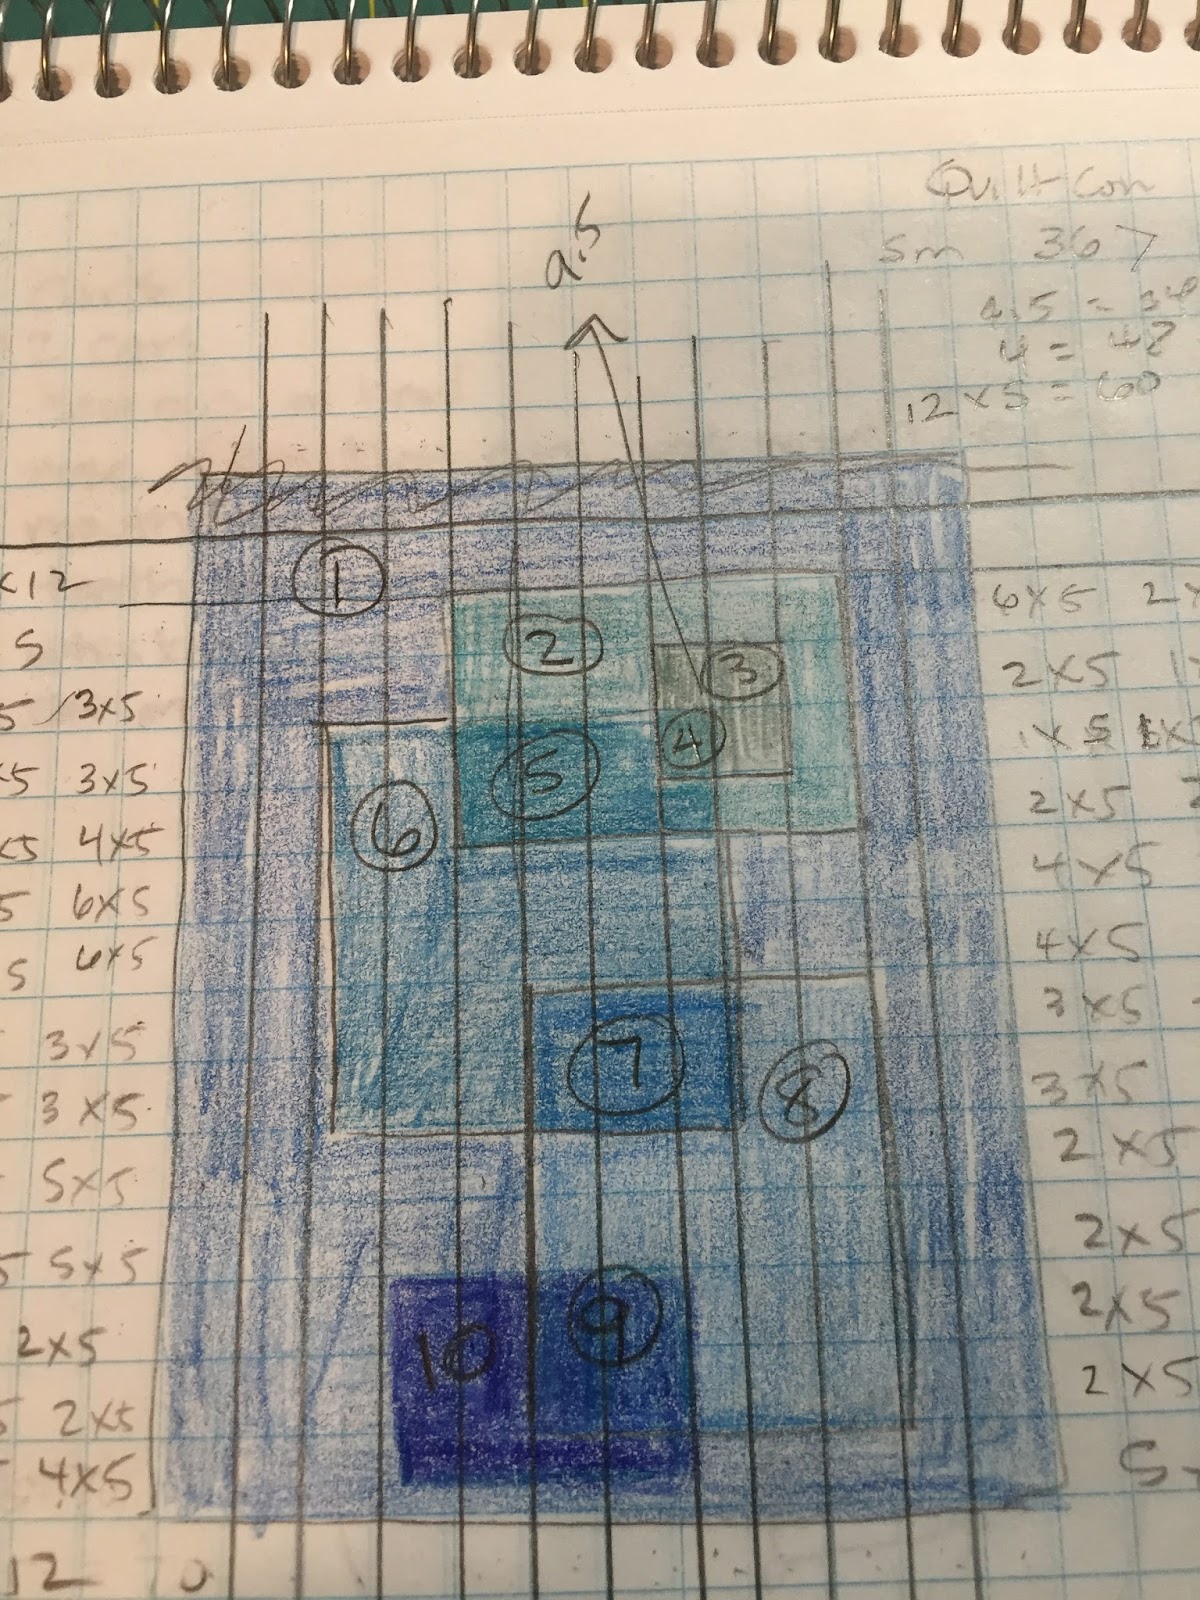
I was fascinated by the color of the water and the variety of color of the ships.  So of course, I had to make a quilt.  I sketched out my design - which incorporated lots of ocean colors.  From greens to blues - they are all found all over the world.


I think we often become desensitized by tv and the internet (and books) and don't realize those gorgeous colored waters really exist.  Living on the east coast of the US, I see the murky grey- greenish- blue up close.  I took a cruise many years back and spent half my time ogling the water.  I simply could not believe how amazing the colors were depending on our location.  So these colors are really out there - and they make me happy.

Thank you graph paper. I love you.


I thought it would be more interesting to use a transparency style layout so I could incorporate lots of ocean colors.   I decided a simple way to create this piece was to use 5 inch blocks.  Normally, I'd crank out my blocks off my Accu-quilt cutter but I was so limited on a couple of these fabric pulls that I couldn't afford the waste - so I carefully cut each out with one of my many, many, overpriced but completely necessary lucite rulers.


For the ships, I felt I wanted to use different scale representations and lots of directions as in which they might be going....  I think this is where I lost my daughter and perhaps the flaw in my design.  We'll find out when I'm finished - and it could even change from this....but it's where I'm headed right now.


I'm not trying to be abstruse...but if you haven't seen those Daily Overview photos...I can see where this quilt might be challenging to understand...  

When I'm done, if it's not completely clear...maybe I'll print a large label for the back - explaining my vision....


What are you up to this week?


Sunday, May 1, 2016

And we now return to normally scheduled programming


A wise man I once worked for always use to say "If you have something important to say - please start at the end".  So more about this quilt as you read through today....


Quilting was temporarily put on hold for a couple of weeks for some home updates.  The fruits of my labor:


The Before of these two rooms


The After!!
Actually, the doors and jambs are still in the stain color.  I have to have a special "door painting" day to finish those.  I'm TERRIBLE at remembering to take a good "before" photo.  The room with the cabinets is my laundry room.  The walls were a stark white and I painted them the pale turquoise the week before.  Again...should have remembered to take the before photo....


And I did this...  Transformed these two Goodwill treasures into....

They were $15 each!!!


Lots of spray paint and some cushions from Target and WHAM!!!    Gorgeous sliders for my screened in porch.  

After all that great home updating...I got down to some quilting.  You may remember my Tulip Fields:


One of the many inspiration photos.


Work in progress


And then it became....


But it still wasn't right....

So I made a few more changes....


I like this.... so then it was quilting time....

Quilting didn't go too fast as I got harassed by Ping, a lot...

Who can resist this furry beast!!


Lots and lots of quilting


And then face binding (Thank you Mary Menzer Designs for the excellent  tutorial on Face Binding   Face Binding Tutorial   )


And then finally here it is.  It makes me smile.  I hope to see the fields in person one day.


What have you made lately that makes you smile?

I'll be linking up to some GREAT links parties - check out the bar to the right for the links each day.